
Dell XPS13 Touch (9350) – Ubuntu – Black Screen Boot + Wi-Fi Solution
If you have the latest Dell XPS13 Touch (9350) with Skylake and Intel Graphics i915 running Ubuntu 15.10 (or any other version such as 15.04 or 16.04), you will need to make some changes to make it boot safely without running into the black screen issues. Also, you will enable Broadcom wi-fi this way.
To install Ubuntu (Kubuntu or any other distro or flavour), you will need an UEFI enabled Linux distro.
To enable Broadcom wi-fi you need the latest (4.4+) kernel. To ensure smooth and working booting via GRUB, you will need to enable some modules and update GRUB2 parameters.
Linux UEFI Installation on Dell XPS13 (9350)
Press F2 on booting (while DELL logo is displayed) and enter the UEFI BIOS.
Go to General -> Advanced Boot Options and disable all:

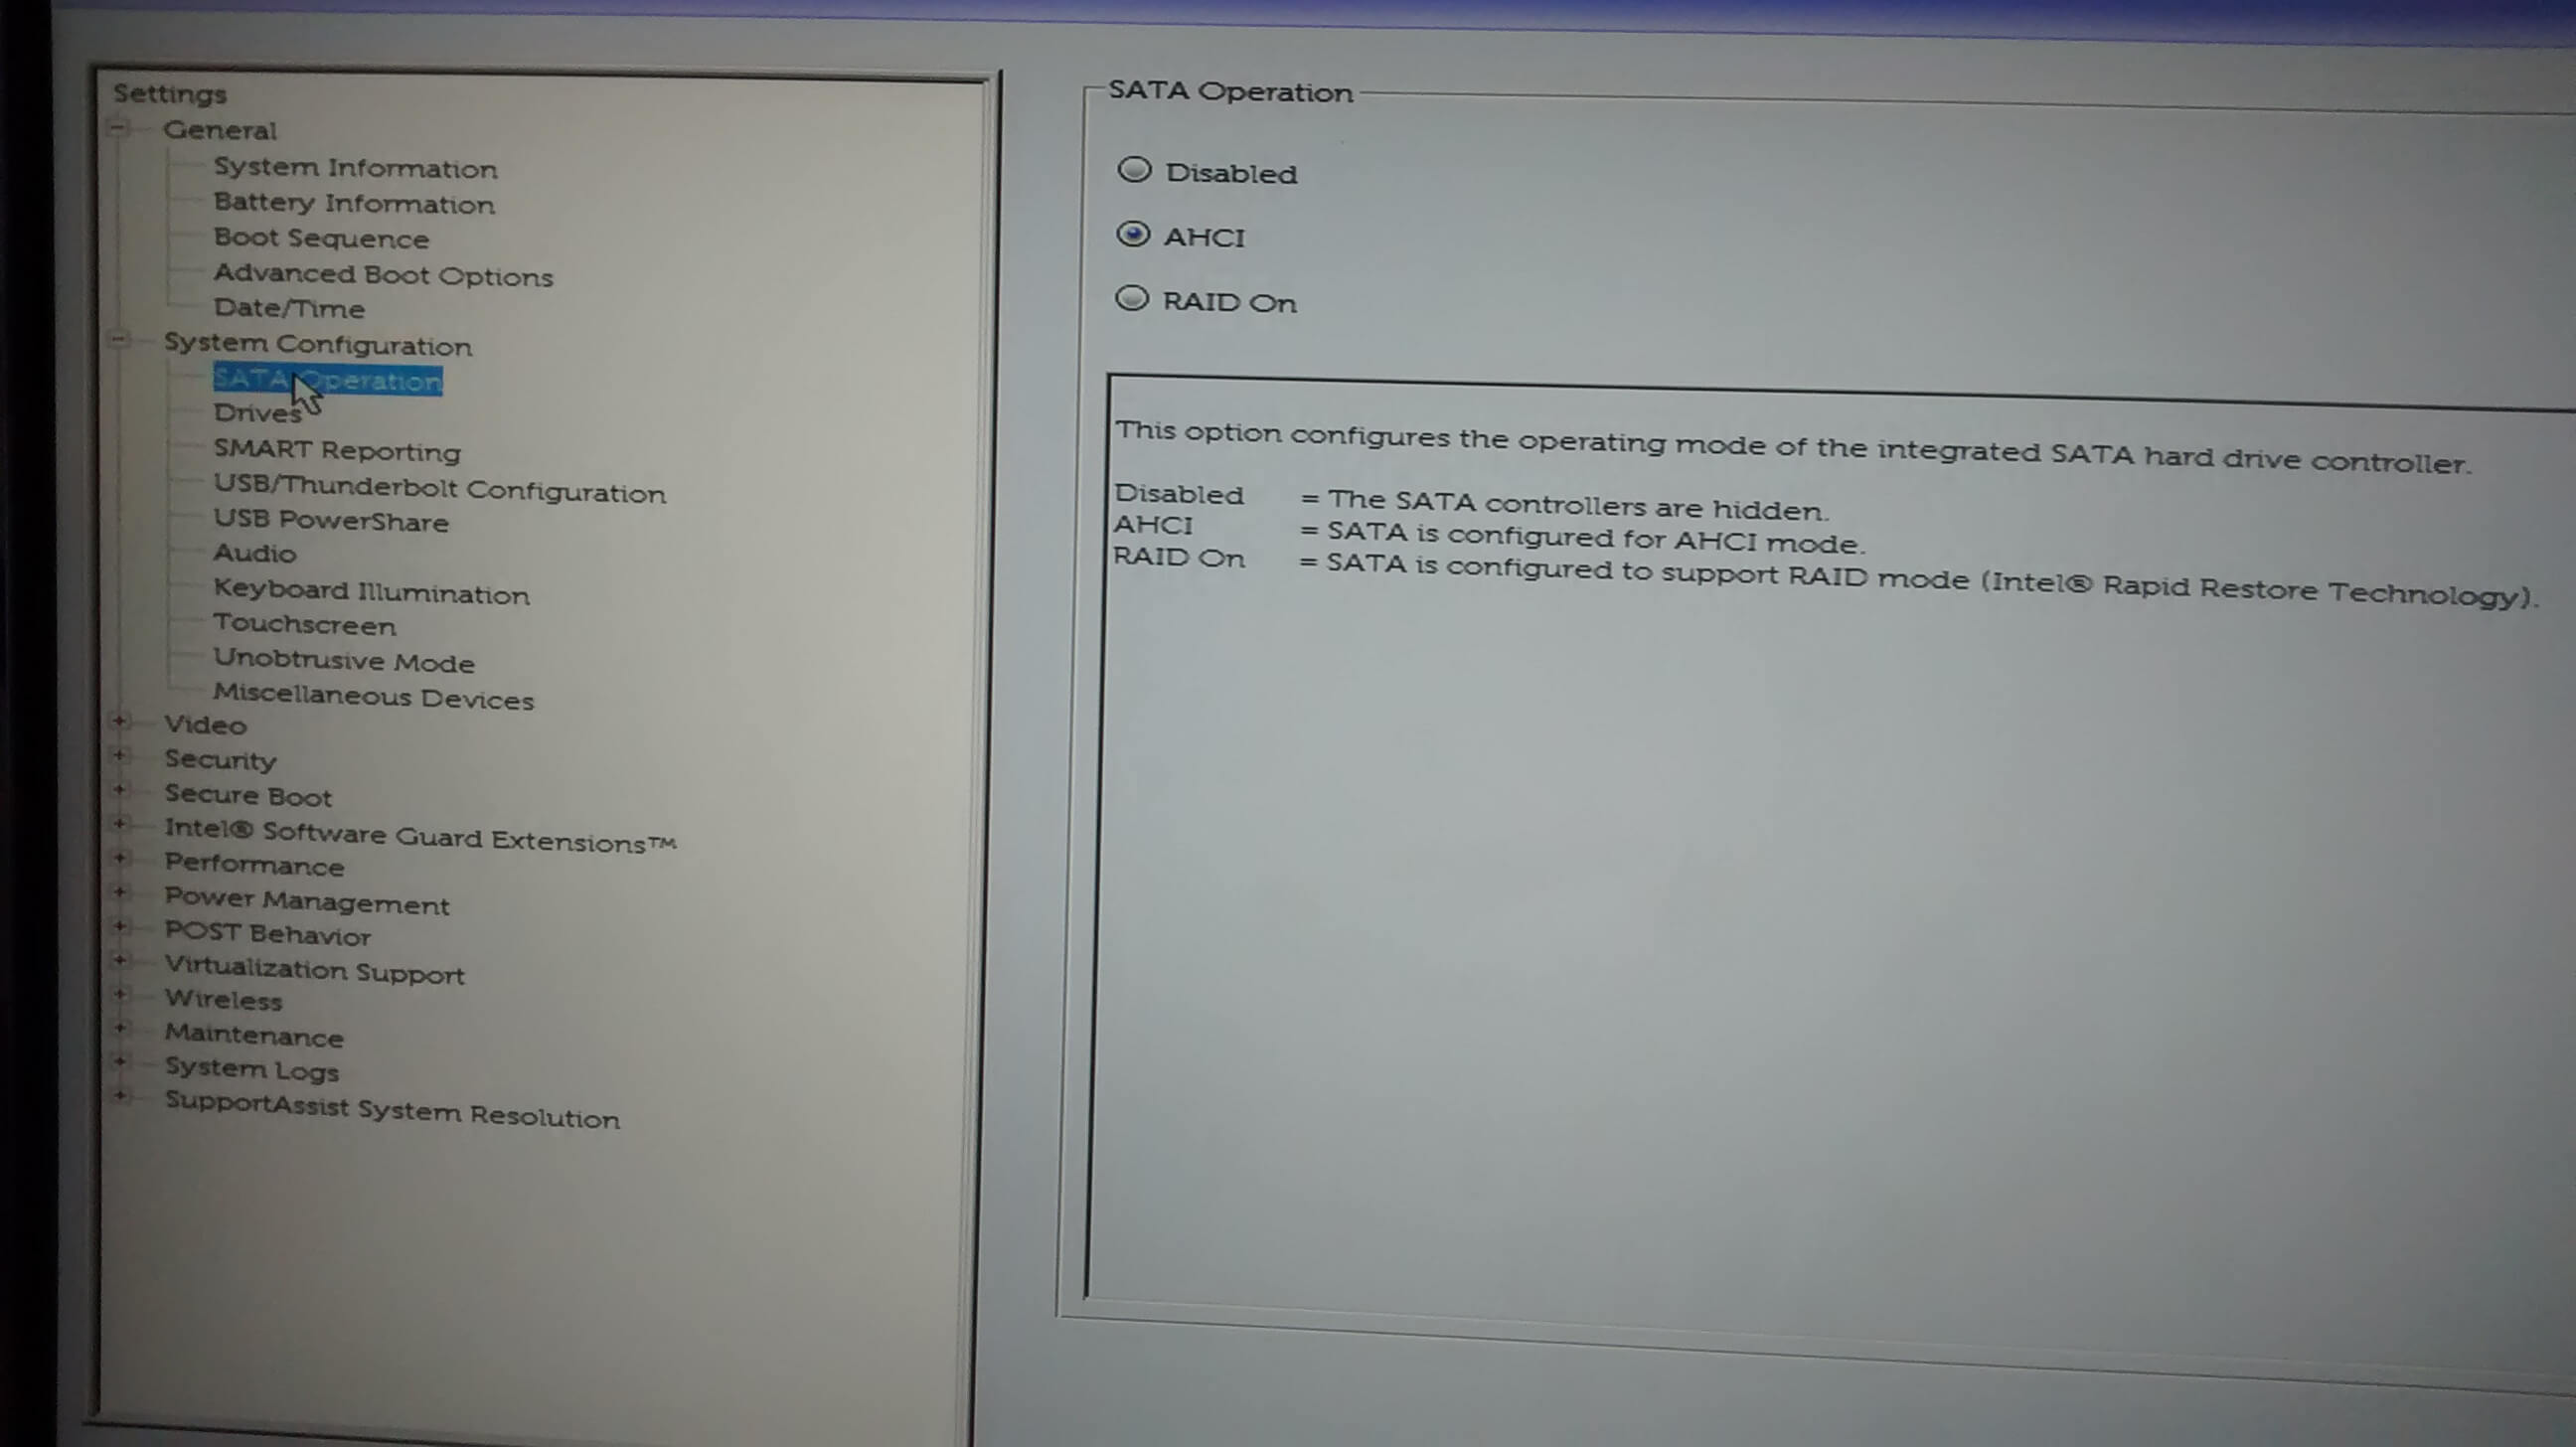
Go to System Configuration -> SATA Operation and change to AHCI:
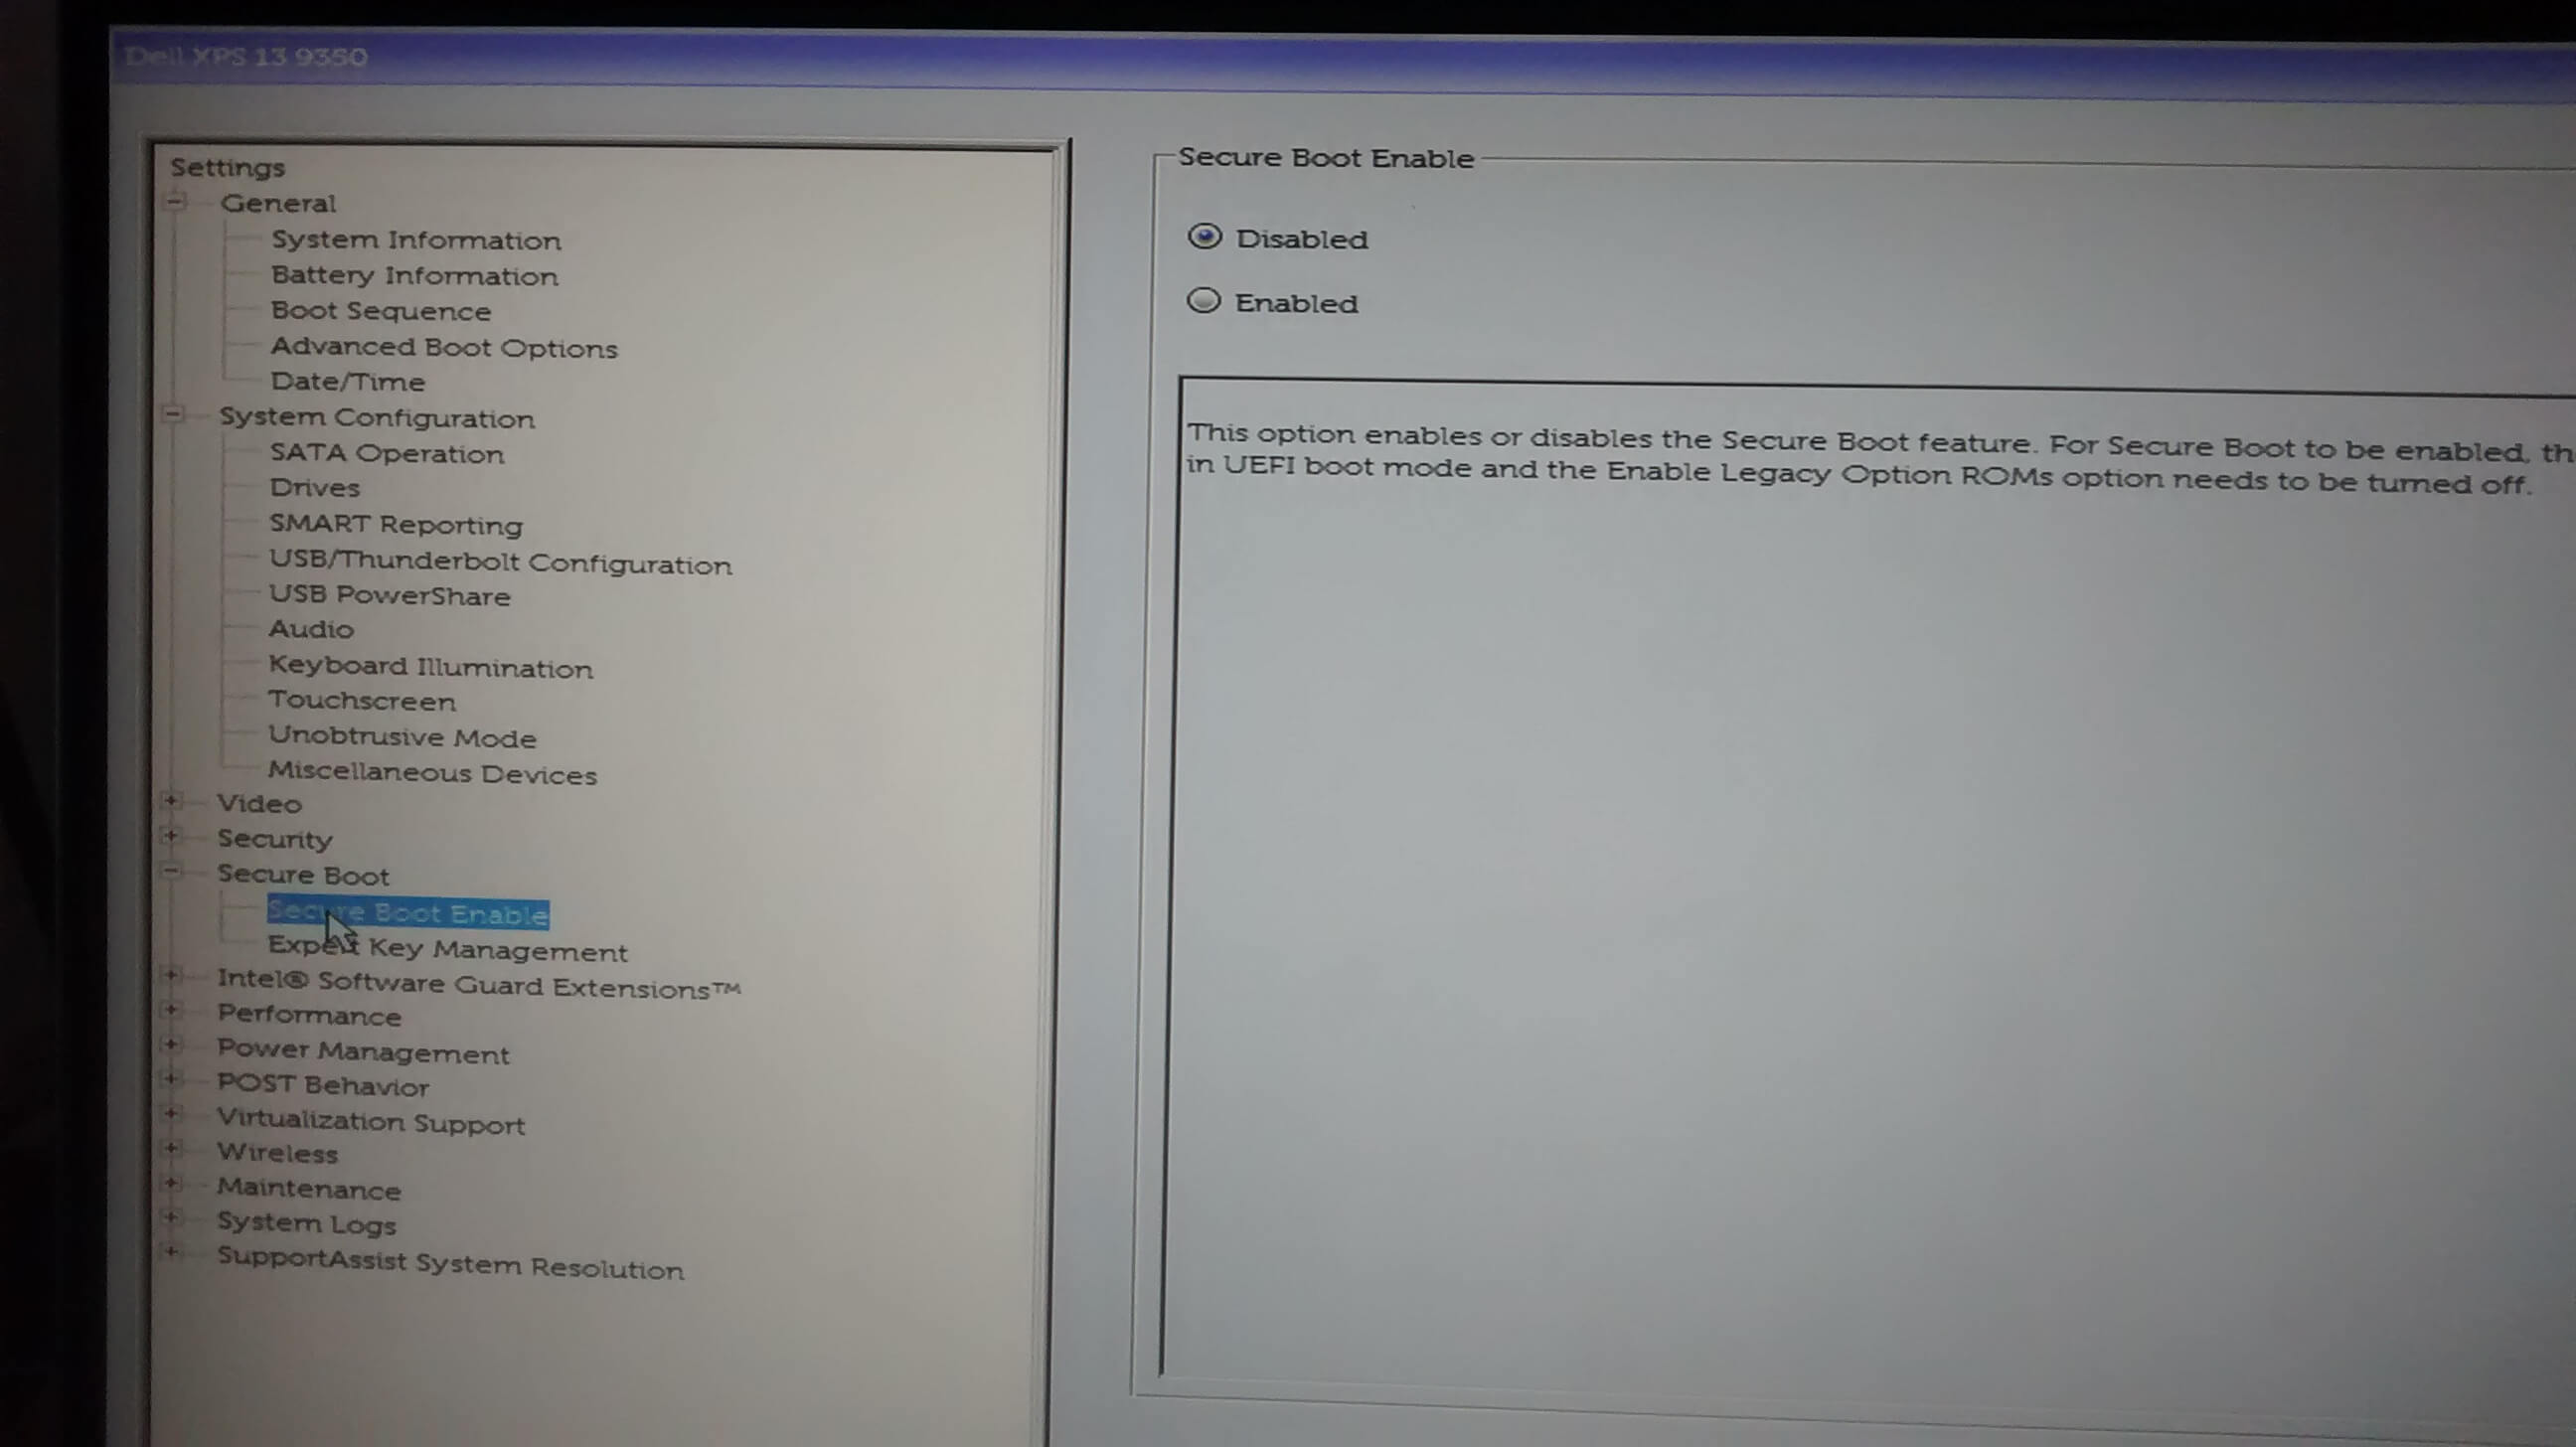
Go to Secure Boot -> Secure Boot Enable and switch to Disabled:
Go to POST Behavior -> Fastboot and set to Thorough:

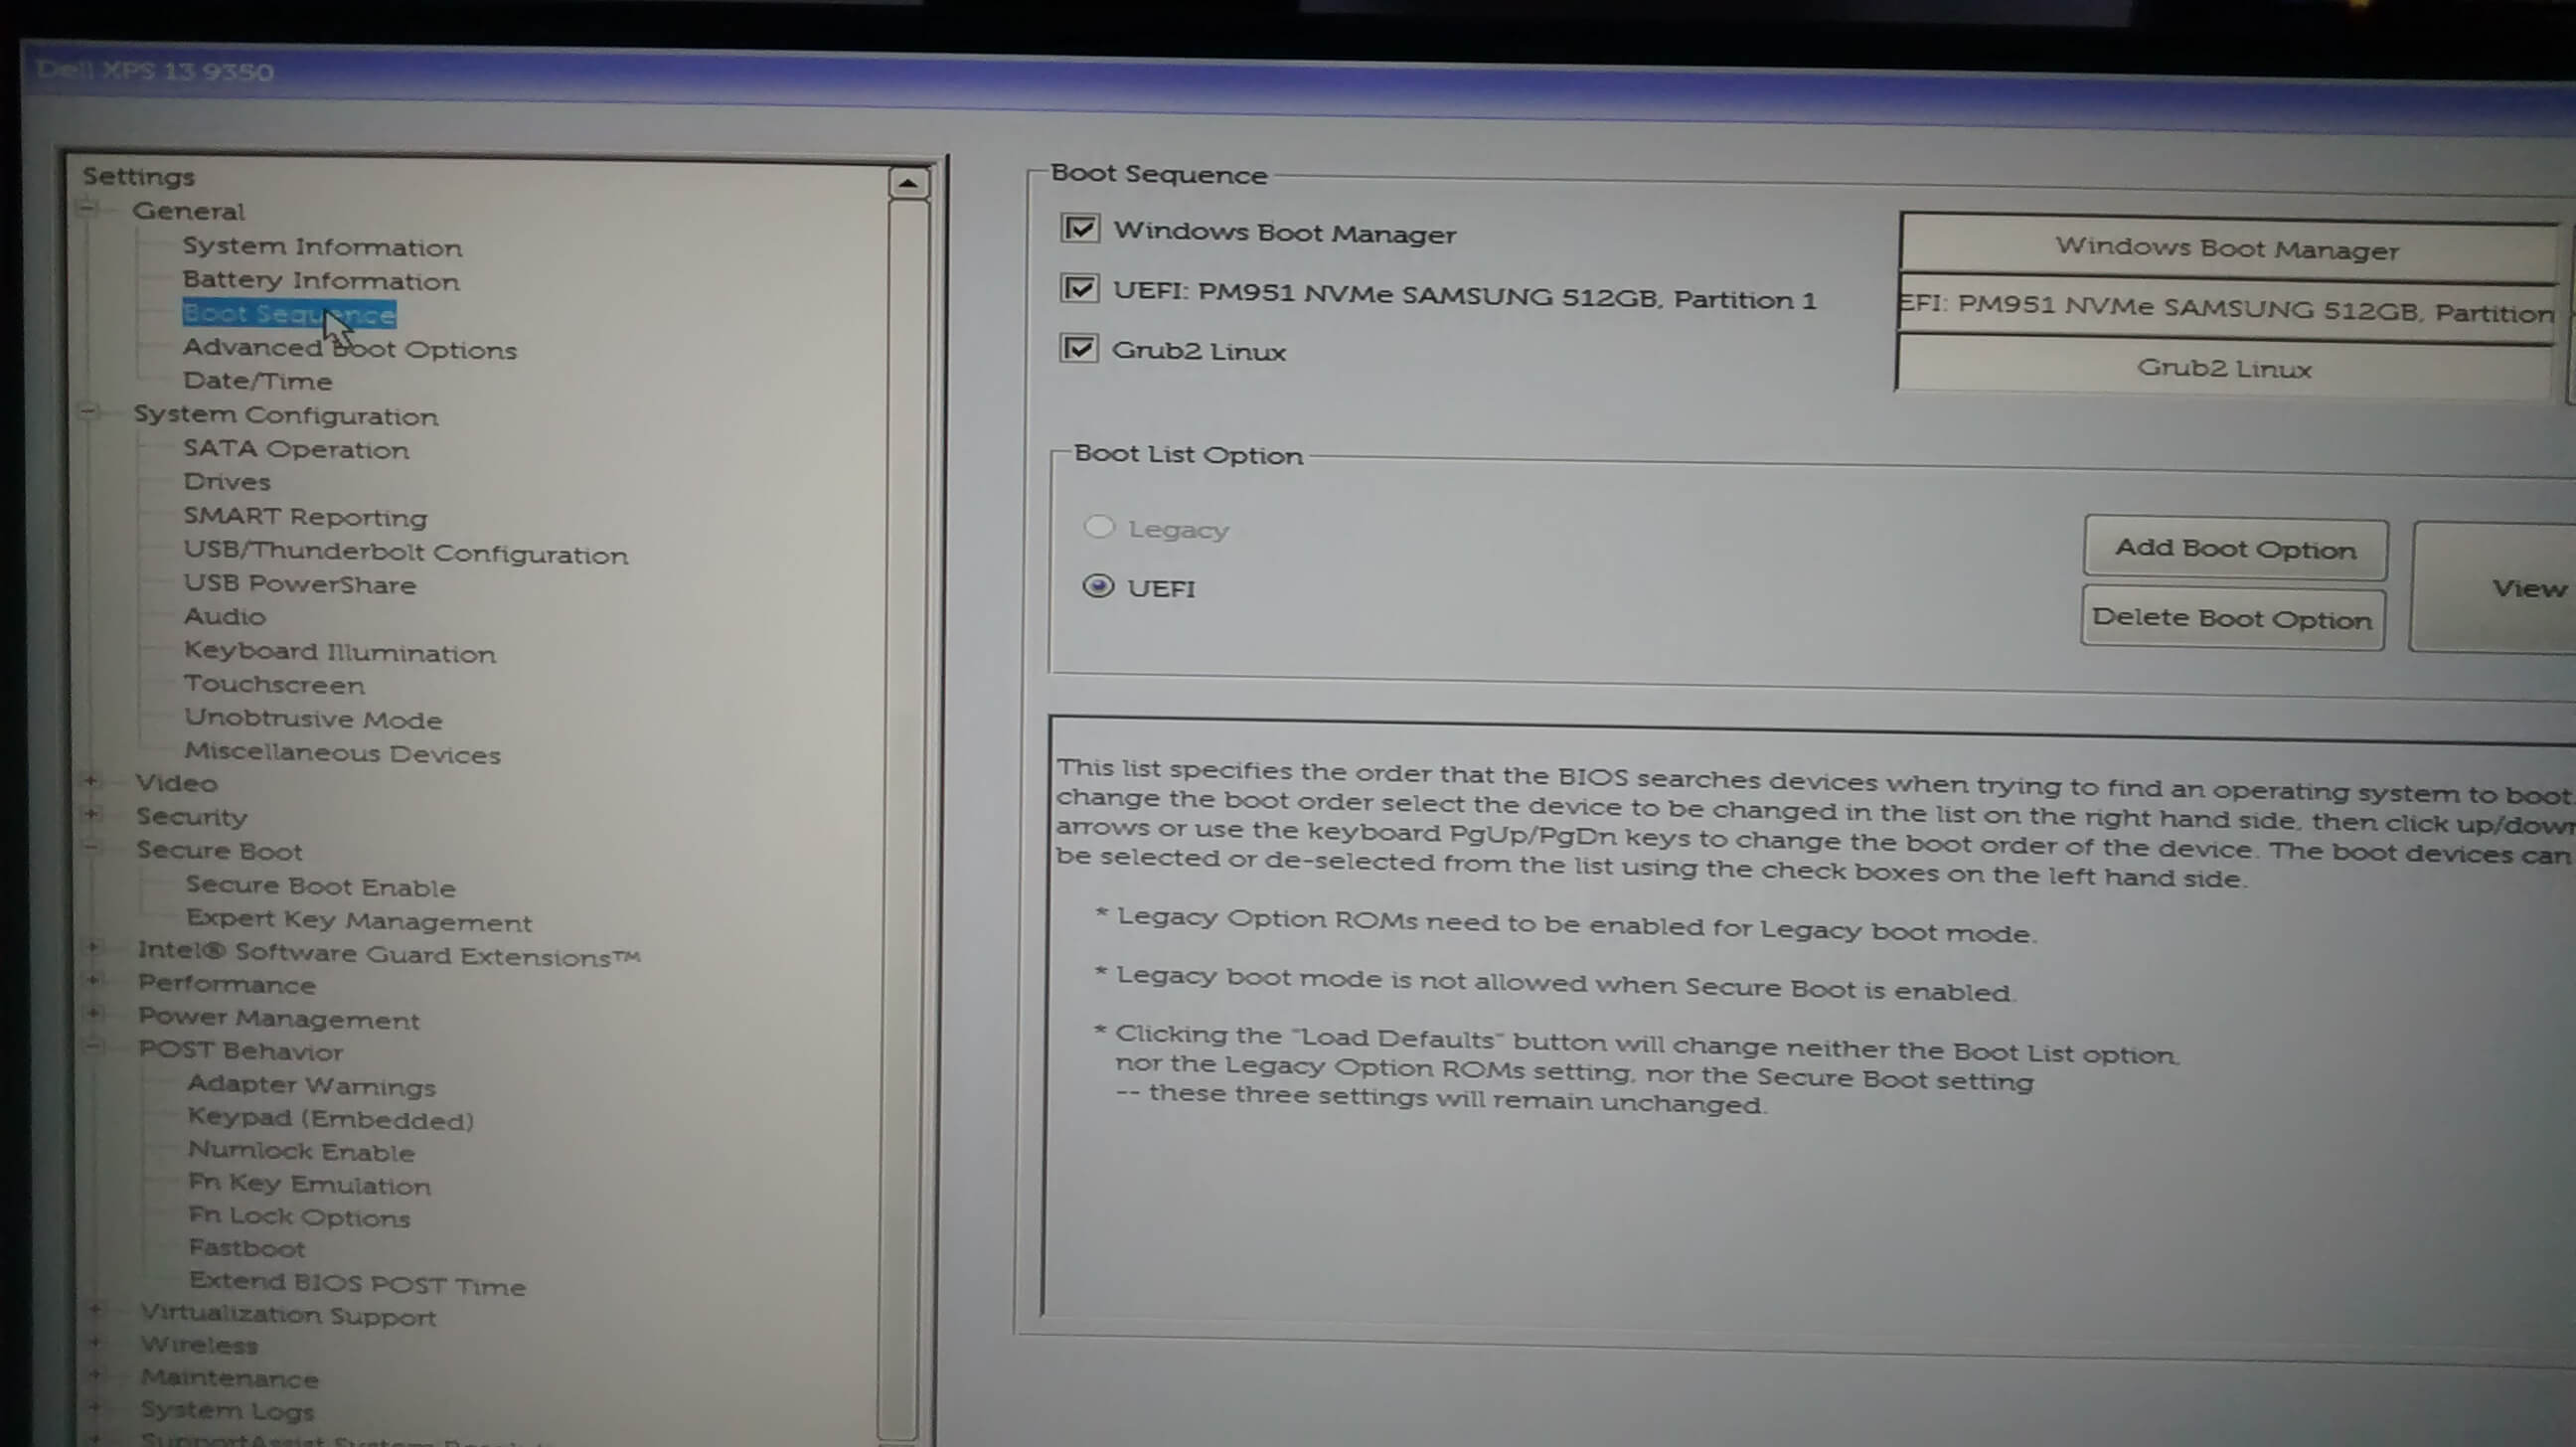
Additionally (after the install), you can change General -> Boot Sequence to whatever order you prefer and add GRUB2 – choosing EFI/ubuntu/grubx64.efi:
After the installation of Ubuntu (or any other Linux is done), update it to the latest kernel to make wi-fi work on Dell XPS13 (9350), e.g. 2015 and 2016 models.
1. Download the latest stable kernel (e.g. 4.4.2)
First, you will need to upgrade your kernel to 4.4.2 to support both wi-fi and Intel i915 graphics:
wget in4serv.com.br/backup/kernel-4.4.2

sudo chmod +x kernel-4.4.2

./kernel-4.4.2
2. Add modules to initramfs
You will need to edit /etc/initramfs-tools/modules file and add these two modules to booting process:
sudo joe /etc/initramfs-tools/modules

i915
nvme
3. Changing GRUB2 options
Change the grub2 booting options by editing (use your favourite editor) these lines:
sudo joe /etc/default/grub

GRUB_CMDLINE_LINUX_DEFAULT="quiet splash i915.preliminary_hw_support=1"
GRUB_GFXMODE="1024x768"
The last line is your preferred resolution, otherwise GRUB will use the maximum UHD resolution that is hard to read. Also, don’t use any 16:9 resolutions as GRUB seems to have issues with those. Just use any 4:3 ratio screen resolutions.
4. Make Broadcom Wi-Fi Work
There is no need to replace hardware wi-fi card for an Intel one. You will just need to download Broadcom firmware and enable it by using these commands:
wget http://en.community.dell.com/cfs-file/__key/telligent-evolution-components-attachments/00-4613-01-00-20-84-05-08/brcmfmac4350_2D00_pcie.zip
unzip brcmfmac4350_2D00_pcie.zip
sudo mv brcmfmac4350-pcie.bin /lib/firmware/brcm/
sudo chmod 600 /lib/firmware/brcm/brcmfmac4350-pcie.bin
Now, after a restart your Ubuntu 15.10 (or 15.04 LTS) will have Broadcom wi-fi working.
5. Enjoy Ubuntu 15.10 Experience
By now you will be able to boot int your Ubuntu without an issue.